Projector alignment: get it right before touching any software
Projector alignment is everything you do to put the image in the right place before opening a single menu: position, leveling, lens shift, focus. It is the least glamorous part of projector calibration and the part that decides the most. A well-aligned projector barely needs digital correction. A badly aligned one turns every later step into damage control.
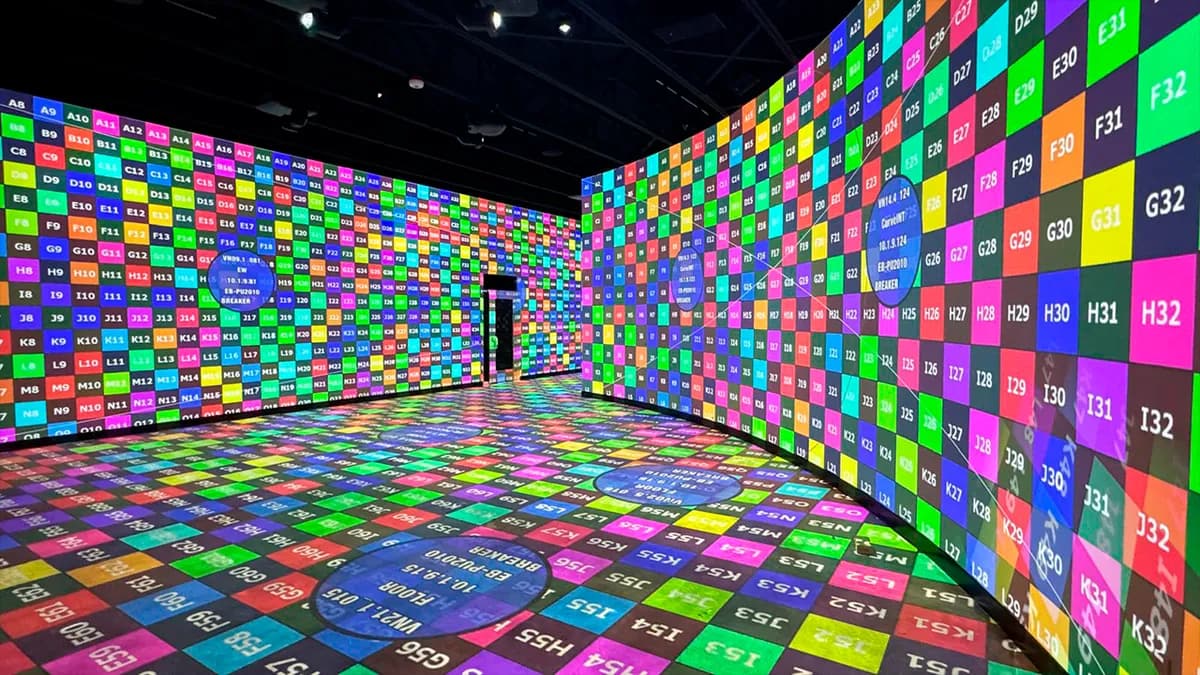
I have aligned projectors on the Arc de Triomphe (15 Barco units on the 2020 edition) and across the Museum of Art and Light in Kansas, 108 projectors on 3,400 m². The order below has not changed in 15 years: physical first, optical second, digital last. Most alignment problems I get called for were created by someone doing it backwards.
Digital correction resamples pixels. Every warped pixel is a stretched pixel, and every correction you stack costs sharpness, contrast or brightness. Physical and optical adjustments cost nothing: moving a projector 10 cm or shifting the lens loses zero pixels.
So the hierarchy is simple. Fix as much as possible with position and rigging. Then with the optics. Only then, and only for what remains, with software. On a good install, the physical pass gets you 90 percent of the way; digital work handles the last few pixels, not the first few degrees.
Alignment starts before the projector leaves its flight case.
Sometimes off-axis is unavoidable: a pillar, a doorway, a fire exit that was on no plan. Fine. Make it a measured decision with a known correction cost, not a surprise at 11 pm. When the placement is genuinely constrained, or the fleet is large, I model it in 3D first: Lumeo puts each projector in the scene with the real throw ratios and lens shift ranges, so the off-axis calls happen at a desk, not on a lift at midnight.
Three rotations, three distinct symptoms:
Read the geometry on the surface, correct the matching axis on the rig. A proper mount with independent fine adjustment on each axis costs little compared to the hours it saves. Rigging that can only be adjusted by loosening everything at once is rigging you will adjust three times.
One habit worth stealing: level the surface reference first. If the screen or the architectural feature you are mapping is itself not level, a perfectly leveled projector will look wrong. Align to the surface, not to gravity. (The audience looks at the wall, not at your spirit level.)
Lens shift physically moves the lens inside the projector, sliding the image up, down, left or right on the surface. It is an optical adjustment: the full pixel grid arrives intact, with no resolution loss. Elite Screens has a solid explainer on lens shift and centering if you want the home-theater view of the same principle.
Rules I apply on every install:
Zoom belongs here too: it sets image size optically. Mid-range when possible, because the extremes of a zoom range typically cost brightness and edge sharpness.
Keystone correction fixes a trapezoid image digitally. It does not move any light. It rescales your rectangle inside the panel, throwing away pixels along the way and resampling everything that remains. Fine text gets soft. Diagonal lines get staircases. And the projector still illuminates the full original trapezoid; the corrected image just uses fewer of its pixels.
On a professional install, my position is blunt: if you are reaching for keystone, the answer is almost always to move the projector or use lens shift. Keystone is a digital apology for a physical problem, and the image pays the bill.
Where I tolerate it: a portable projector on a meeting-room table for one afternoon, a rental unit you are forbidden to rig properly, a demo that will be torn down tomorrow. Convenience contexts, where nobody inspects the pixels. Never on a mapping, never under a blend, and never stacked on top of warping: two resampling passes on the same image is how fine detail dies quietly.
Focus is part of alignment, and it moves.
With several projectors on one surface, alignment tolerance stops being cosmetic. The overlap zones are where two images must agree pixel for pixel, and no blend curve will rescue a misaligned seam. The sequence stays the same, projector by projector: position, level, shift, focus, so that each unit lands as close as possible to its target zone optically. Then, and only then, digital warping takes over for the last pixels, never for the first degrees.
Two field notes at scale. First, texture is your friend: stone and brick absorb a pixel of drift, a smooth cyclorama forgives nothing, so budget your alignment time by surface, not by projector count. Second, document the physical setup: photos of the rig, measured positions, shift values. When a unit gets bumped in month three, you realign to a record instead of a memory. For a serious example of multi-projector alignment procedure, NOAA's Science On a Sphere alignment manual is public and worth a read: four projectors on a sphere, aligned methodically.
Nine lines. They prevent most of the calibration mistakes that ruin mapping projects, and they cost less than one night of overtime.
Honest scope, because not every projector deserves a laser level:
Where the method pays: any blend, any permanent install, any mapping on real architecture, any client who walks up to the wall.
If you have a projector, a surface and a doubt about the distance, the calculator is free. And if your alignment is fighting you on a real install, write me. I have leveled enough projectors at 2 am to read a trapezoid from a phone photo.
Cookies and privacy Learn more
This site uses cookies to measure audience and improve your experience. You can accept, reject or customize your preferences at any time. Learn more