12 Mistakes That Ruin a Video Mapping Project
12 mistakes that ruin a video mapping project (prep and calibration)
In short. A mapping project fails twice: in preparation, then on site. On the prep side, six mistakes come back constantly: forgotten light pollution, underestimated lumens, wrong pixel calculations, pixel maps sent out before validation, insufficient test patterns, schedules with no calibration buffer. On the calibration side, six more: calibrating cold projectors, warping before the optical adjustments, warping before the media server is configured, starting with too dense a grid, warping without reference points, calibrating in conditions different from show conditions. All twelve are avoidable with method; a methodical calibration cuts tuning time by 30 to 50%.
Introduction
Over 15 years of projects, from the Arc de Triomphe to the Culturespaces art centers, I have watched the same mistakes repeat again and again. Half of them happen before anyone reaches the site. The other half during calibration.
All twelve are avoidable. This guide groups them in the order they show up: pre-production first (mistakes 1 to 6), then the field (mistakes 7 to 12).
1. Neglecting light pollution
On outdoor projects, many teams underestimate the impact of the ambient light environment. Street lights, billboard spots, security lighting, signage...
The problem: You ran your lumen calculations assuming a facade in total darkness. On show day, a municipal street light shines right onto your projection zone.
The solution: A nighttime site survey is mandatory. Identify all parasitic light sources and negotiate their shutdown, or adjust your power output accordingly.
2. Underestimating the required brightness
Even without obvious light pollution, the environment matters. Moonlight, urban light reflection, bright surfaces nearby...
The problem: Your 10,000 lumens seemed sufficient on paper. On site, the image is washed out.
The solution: Always plan for margin. And run your tests under actual show conditions, not in the middle of the night with no moon.
3. Getting the pixel calculation wrong
This is one of the most costly mistakes in terms of production time.
The problem: If the pixel density is too low relative to the projected pixel size, the image will look pixelated and the quality will be disappointing. Conversely, if the resolution is far too high, files become massive and studio render times skyrocket for no reason.
The solution: Calculate the actual projected pixel size and adapt your pixel map accordingly. An accurate pixel map is the backbone of the entire project.
Free tool: Use the projection calculator to determine in seconds the projected pixel size, required resolution, or the lens and power you need for your project.
4. Working from an unvalidated pixel map
This one deserves special attention because it impacts the entire production chain.
The problem: You send a pixel map to the studios before validating the 3D scan or projector positions. They produce weeks of content. You realize on site that it doesn't match. Back to square one.
The solution: The pixel map is sacred. It should only be distributed once you're 100% certain of the geometry and configuration. Otherwise, it's weeks of studio work thrown in the trash.
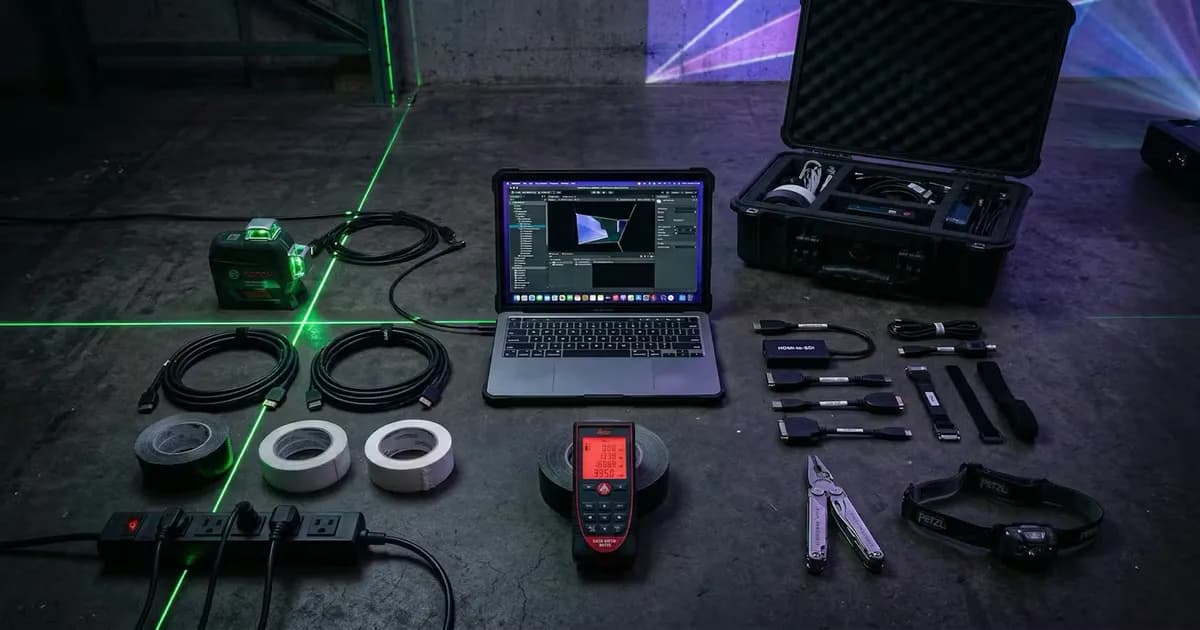
5. Preparing insufficient alignment test patterns
Alignment test patterns are what allow you to warp quickly and accurately on site. They're also what studios use to create the content.
The problem: Imprecise or poorly designed test patterns mean lost time on site. You're looking for reference points that don't exist, fumbling around, losing accuracy. And if studios didn't receive sufficiently detailed test patterns, their visual creation will be misaligned from reality.
The solution: Invest time in preparing both 2D and 3D test patterns. They must match the building's relief features, overlap zones, and architectural reference points. On site, there's no time to waste. Well-prepared test patterns mean a smooth calibration.
6. Not planning enough time
This is the meta-mistake. The one that amplifies all the others.
The problem: Tight schedule, everyone is confident. But calibration takes time. Looking, adjusting, verifying, masking, saving, documenting. If this time isn't planned for, corners get cut. And a rushed project shows.
The solution: Calibration is not a formality. It's a full step that demands rigor. Plan this time into the schedule, or you'll pay for it one way or another.
Up to this point, everything happened at the desk. The next six mistakes happen on site, during calibration. I see them on most of the projects where I am called in for reinforcement or an audit. What they share: they cost hours, sometimes days.
7. Calibrating projectors that haven't reached operating temperature
Projectors, even recent laser models, need a warm-up period to stabilize their internal optical alignment and color performance.
The problem: You calibrate cold. An hour later, the image has shifted by a few pixels. On a large surface, that's visible.
The solution: Turn on the projectors 20 to 30 minutes before starting calibration. Laser models are more stable than lamp-based ones, but a stabilization period is still recommended.
8. Warping before adjusting the projector
Focus, zoom, shift, physical position... All of this must be locked in BEFORE touching the warping.
The problem: You start the warp, then realize the zoom isn't right. You adjust. The entire warp needs to be redone.
The solution: Follow the order:
- Physical position of the projector
- Optical adjustments (focus, zoom, shift)
- Only then: warping
9. Warping before configuring the media server
Same logic, on the software side.
The problem: You warp an output, then realize the project resolution is wrong, or the outputs are incorrectly assigned. Back to square one.
The solution: Validate your media server configuration (resolution, number of outputs, output assignment) before starting any warp.
10. Starting the warp with too much precision
The desire to do a good job often leads to adding too many control points from the start.
The problem: A 16x16 grid right from the beginning is unmanageable. You lose the big picture, you create local distortions that are impossible to fix.
The solution: Start with a simple grid (2x2). Lock in the broad strokes. Add precision progressively, only where it's needed. The grid ranges from 2x2 minimum to 16x16 maximum.
11. Warping without reference points
This is perhaps the most frustrating mistake to watch.
The problem: Someone warping "by eye," with no test pattern, no reference points on the building. It's slow, imprecise, and it shows.
The solution:
- Use architectural features (edges, windows, cornices)
- Project alignment test patterns
- On flat surfaces: use physical metric reference points
Warping without reference points is a guaranteed waste of time.
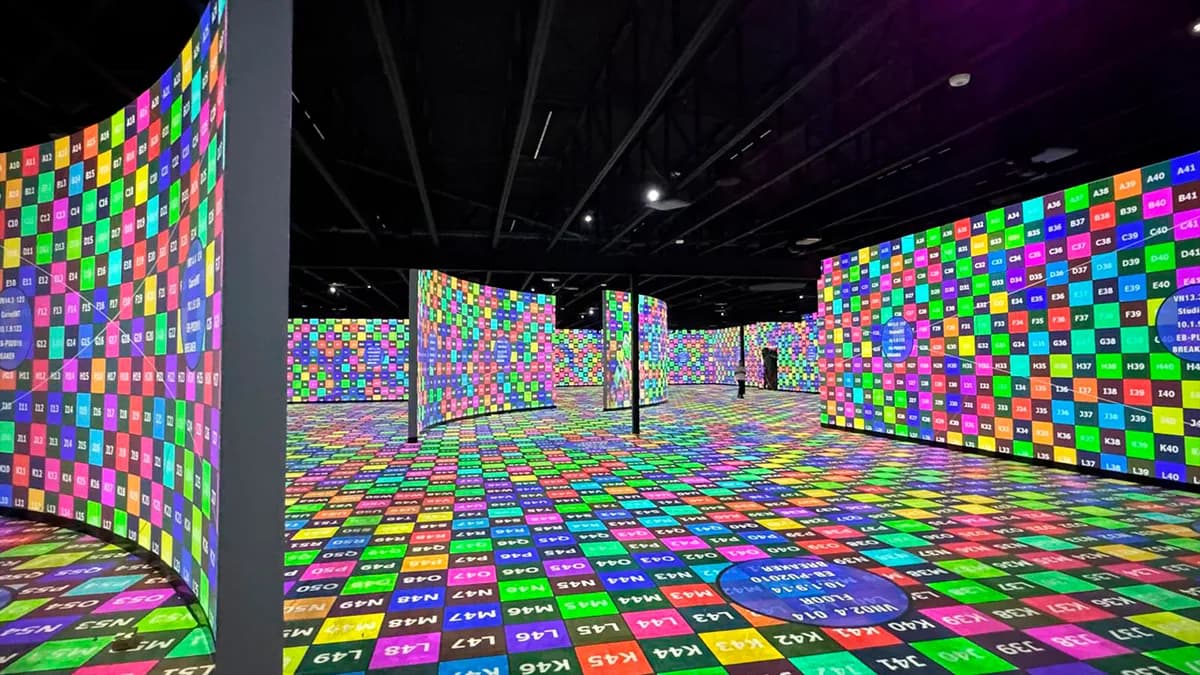
Generate your calibration test patterns: The projector calculator lets you export custom calibration test patterns with grids, projector outlines, markers, and dimensions tailored to your exact setup.

12. Calibrating under different conditions than the audience will experience
Temperature, humidity, air currents... all of these affect structures, projection screens, and even the projectors themselves.
The problem: You calibrate in an empty venue, doors open, in the middle of load-in. On show day, with 500 people and the HVAC running full blast, everything has shifted.
The solution: Calibrate under conditions as close as possible to the actual show environment. And plan a verification slot after the dress rehearsal.
Conclusion
These calibration mistakes are avoidable. They just require a bit of method and rigor.
Calibration is the last step before your project comes to life. It's the moment when everything comes together. Take the time to do it right.
A clean warp means a smooth project. And a smooth project means a satisfied client.
Need an expert eye on your calibration workflow? I offer training and custom support for technical teams.
📖 The full method: Projector calibration: the field guide covers the process step by step, from test patterns to edge blending.
Need support for your project?
Let's talk about your project to discuss your projection or mapping project.
Not ready to talk yet? Try our free calculation tools to size your project.

Video mapping consultant and trainer
Fifteen years of monumental and museum-grade installations: Arc de Triomphe (7 editions), Museum of Art and Light Kansas (108 projectors), Atelier des Lumières. Design, multi-projector calibration, audit, Modulo Kinetic training.
Need technical expertise?
Let's discuss your video projection or mapping project. Reply within 48h business hours.
Discuss your projectDid you enjoy this article?
Receive my upcoming tips, field experience and best practices straight to your inbox.
By subscribing, you agree to receive our emails. You can unsubscribe at any time.
1 email per week maximum, unsubscribe in 1 click