Multi projector setup: designing an install that holds
A multi projector setup is any installation where two or more projectors share one surface: side by side to build a wider image (tiling), or on top of each other to add brightness (stacking). The design questions never change. How many machines. How much overlap. Where the blend happens. How everything stays in sync. This guide answers them in the order I use on real projects.
I have been designing and calibrating multi-projector installs for 15 years. The Arc de Triomphe in 2020 ran on 15 Barco projectors and 8 Modulo Player Pro servers. The Museum of Art and Light in Kansas covers 3,400 m² with 108 projectors and 28 Modulo media servers. The tutorials you find online stop at four projectors. The physics is the same at 108. The spreadsheet is not.
The first question everyone asks is "how bright". The first question that actually sizes the install is "how sharp". Lumens on a spec sheet tell you nothing until you know how many square meters each projector has to cover.
My method starts from pixel size on the surface. Decide the size a single pixel is allowed to be, based on how close the audience gets. For architectural mapping viewed from across a street, a pixel of 10 to 15 mm reads sharp. For a museum wall people walk up to, you need much smaller, and the projector count climbs fast.
From there the math is mechanical:
Then, and only then, check brightness. For outdoor night mapping I aim for 200 to 300 lux delivered on the surface; controlled indoor spaces live around 70 to 100 lux. If the projector that meets your pixel density cannot meet your lux target, you change the model, not the count.
The multi-projector calculator runs this whole chain for free: enter the surface and target pixel size, it returns projector count, overlap, real canvas resolution, and exports the test patterns for each projector.
Tiling spreads projectors across the surface to build a bigger image. Stacking points two or more projectors at the same image to add their light. Different goals, different rules.
Stacking for brightness. Two 20,000 lumen machines stacked give you close to 40,000 lumens on the surface, minus alignment losses. It is the standard move when the brightest single unit available is not bright enough, or when the rental stock simply does not have the big machine that week. The constraint is alignment: the two images must land pixel on pixel. A sub-pixel offset does not read as two images, it reads as a soft, slightly doubled picture, and everyone will blame the focus.
Stacking for redundancy. On shows that cannot go dark, a stacked pair means one projector can die mid-show and the audience only loses half the brightness. Permanent installs and broadcast events pay for this. A three-night festival usually should not.
What stacking does not fix. Stacking two cheap projectors to avoid renting one good one works on paper. On the wall you get double the fan noise, double the maintenance, and an alignment that drifts twice as often. I price that option when a client asks. They rarely ask twice.
The moment two tiled projectors share a surface, the overlap zone between them needs an edge blend. The sizing rule from my installs: 10 to 20% of each projector's width, with 15% as the live-event standard. Thinner than 10% leaves no room to hide alignment errors. Fatter than 25% burns resolution for nothing.
The point that belongs in this guide rather than the blending one: the overlap is decided when you position the projectors, not when you open the blend menu. An overlap that is too thin on site cannot be fixed in software, only by moving hardware, at night, with a lift you already returned. Plan the overlaps on paper, before anything ships.
The curves, gamma, black level compensation and the seven-step method live in the dedicated edge blending guide.
A multi projector setup is a network before it is an image. Three layers to lock down:
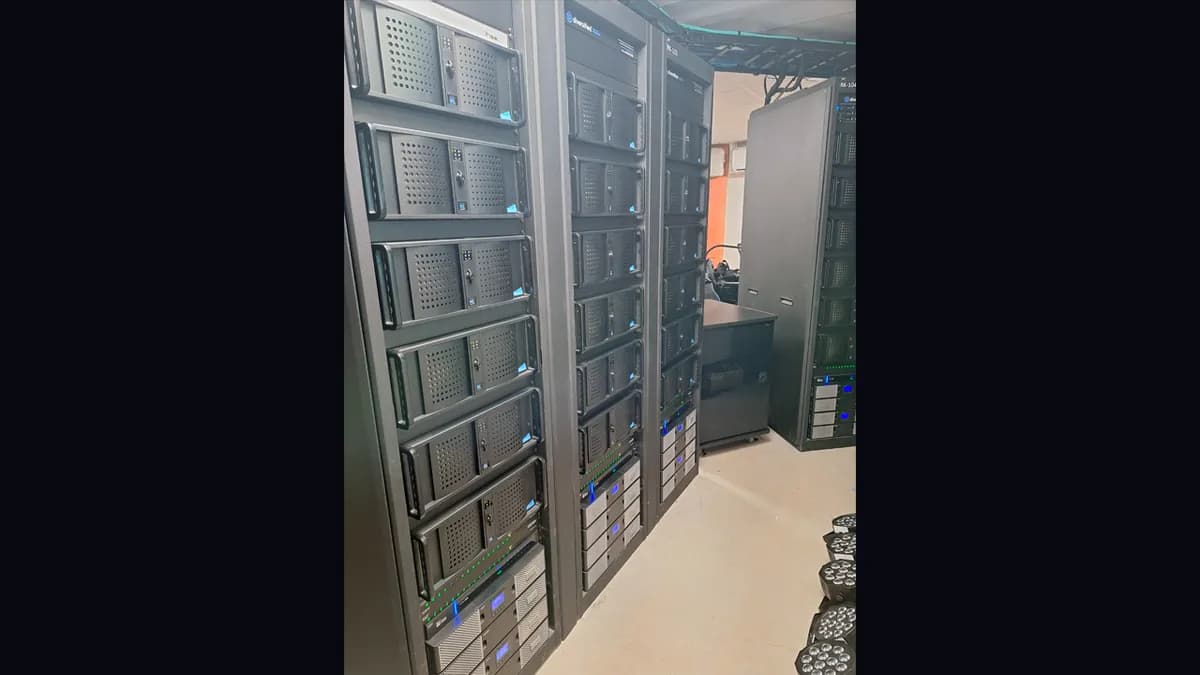
One clean output per projector. For anything beyond duplicating one image, each projector gets its own output from the media server, at native resolution, end to end. HDMI splitters and video wall processors exist and work for simple home setups; on professional installs, the media server owns the canvas and slices it. MadMapper and Resolume handle small and mid-size setups well. My large installs run on Modulo Player or Modulo Kinetic, because across 250+ deployed servers they have never made me debug the server instead of the show.
Frame lock. All outputs must present their frame at the same instant. Unsynchronized outputs tear the image at every seam as soon as content moves. Modulo Pi holds around one frame of latency at 50 Hz, roughly 20 ms, and keeps servers genlocked; whatever your platform, verify sync by running a moving pattern across a blend zone before you call the chain done. A static grid will happily lie to you.
Every projector on the network. At two projectors, walking over with a remote works. At twenty, it is not a plan. Each unit gets an IP, monitoring, and named presets. When projector 47 drops its lamp at 6 p.m., you want a red light on a dashboard, not a phone call from the client at 9.
Epson documents the multi-projector features built into its own units (using multiple projectors, Epson support); useful for small fixed rows, limited at scale.
Once the design holds, calibration follows the same order as any install: placement, optics, warp, blend, color. What changes at scale is the priority. Viewers compare adjacent projectors before they judge anything else. A fleet matched at 80% of its potential brightness looks better than a fleet at 100% where one unit runs hot.
Two field numbers to plan around:
The geometric pass, warping each projector onto its exact zone, has its own alignment guide. And document everything: calibration files versioned and stored off the server, photos of the physical setup. At 108 projectors, memory is not a backup strategy.
Steps 1 to 4 are desk work and cost almost nothing. Every error that survives them gets multiplied by the projector count on site. On the MoAL project, the pixel maps and server layout were validated from France before installation; the on-site weeks went into fine calibration instead of discovery.
That desk work is exactly what I built Lumeo for: drop the projectors into a 3D scene, see the overlaps, check the real lux on the surface, and share the study by link, before a single machine is rented.
Cases where I have talked clients out of it:
For the complete method around this guide, placement, optics, warping, color and maintenance, start from the projector calibration guide.
And if you are staring at a wall, a projector count you are not sure of and a quote due Friday, the calculator is free. If the doubt survives the calculator, write me. I have already made most of the mistakes you are about to.
Cookies and privacy Learn more
This site uses cookies to measure audience and improve your experience. You can accept, reject or customize your preferences at any time. Learn more