Getting started Lumeo
Lumeo helps you plan a projection or LED wall project in 3D, then export a technical dossier. Here is the essentials in 6 steps. Plan about ten minutes for your first scene.
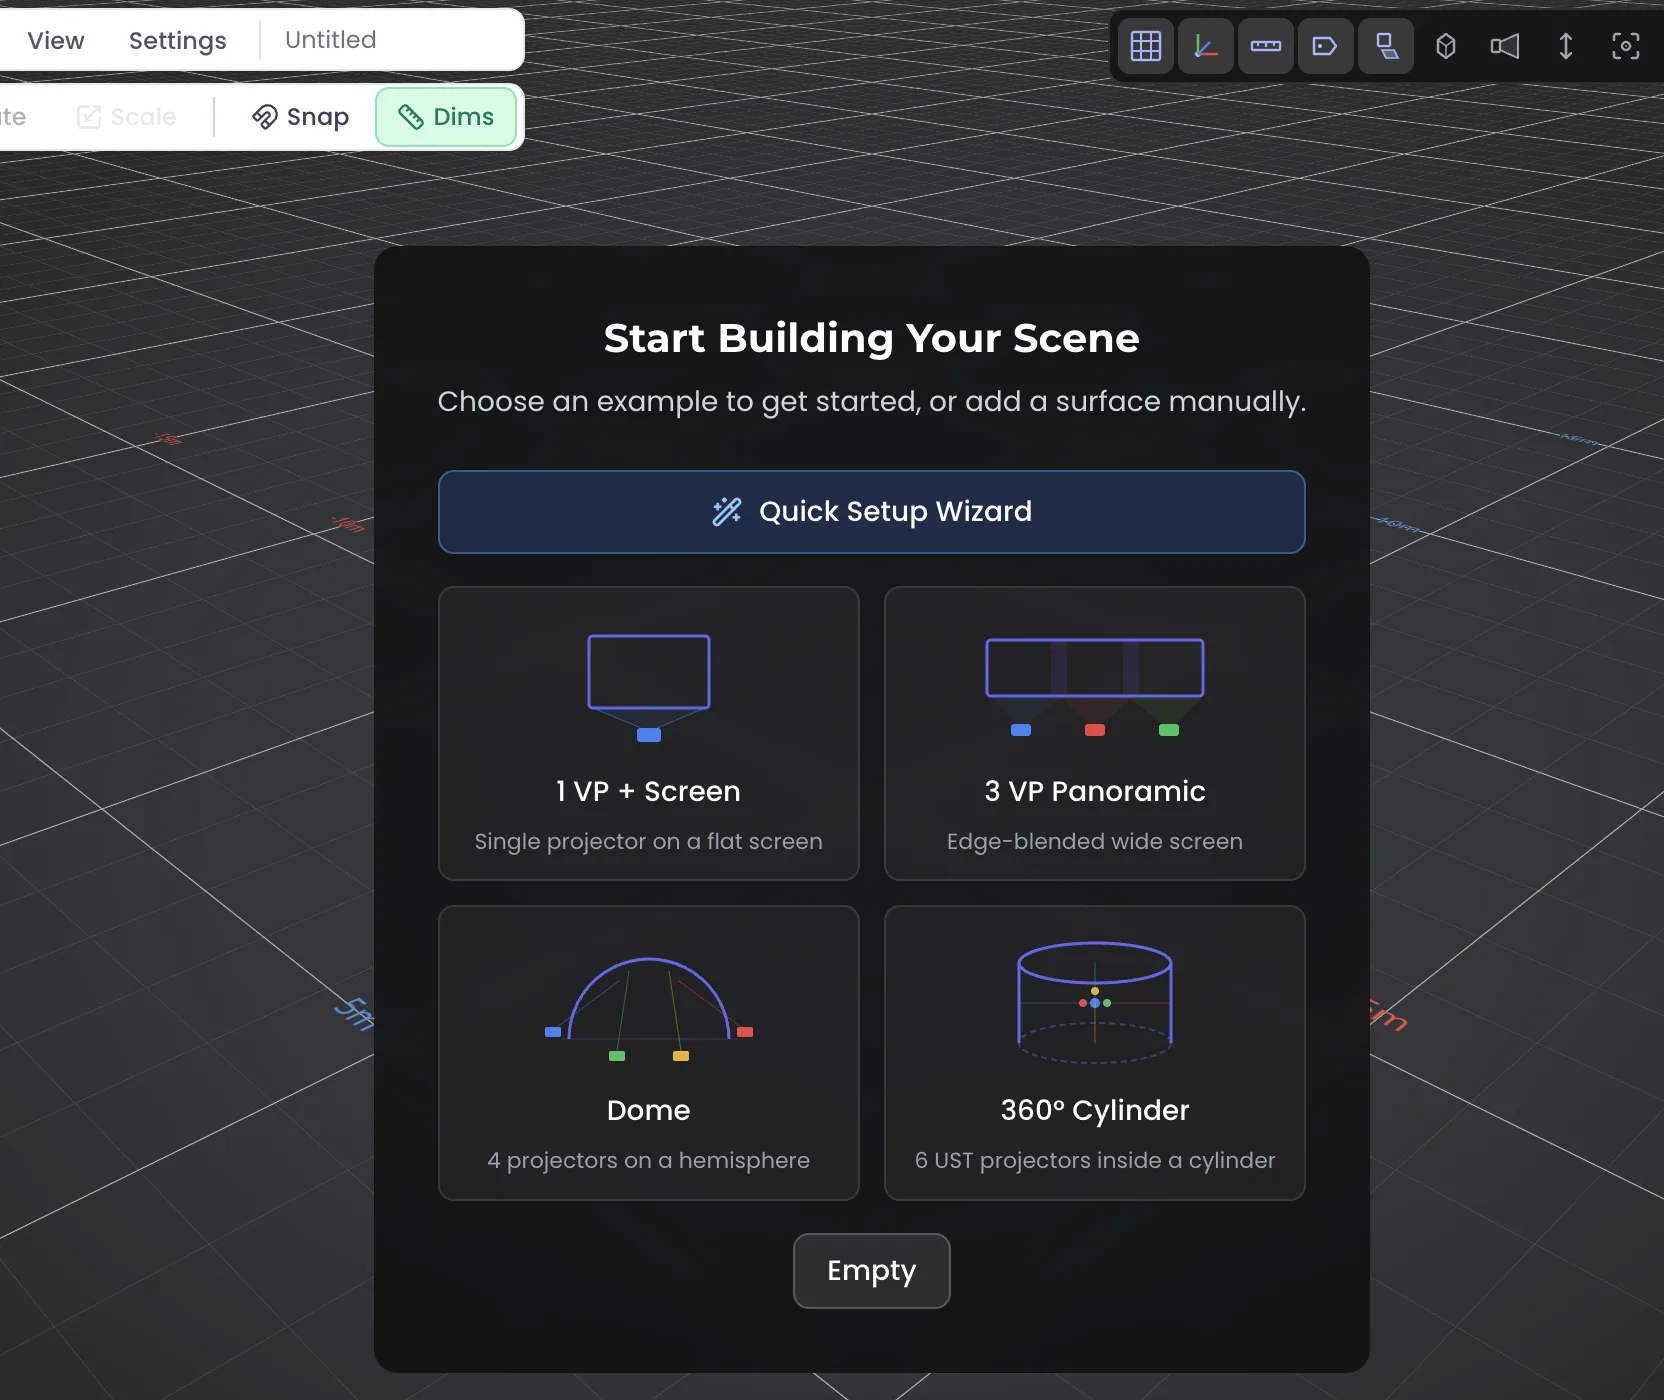
Step 1Create a scene
On opening, the ProjectHub lists your projects. Start an empty scene to enter the 3D viewport.
- Click “New project” (or Quick Setup) and give it a name.
- The 3D viewport opens, ready to receive objects.
- Everything is saved to the cloud (Save button), with version history.
Step 2Add a projector (VP)
The projector (VP, virtual projector) is the heart of Lumeo. Add it, pick a model, then aim it.
- Add menu, then Projector.
- Pick a brand and model from the built-in database, or set the optics by hand (throw ratio, lumens, resolution).
- Move and aim the VP with the gizmo; the projection cone and distance update in real time.

Step 3Surface and projection
Add a surface (wall, screen, cube, floor) to catch the projection, then load an image or test pattern to preview the result.
- Add menu, then Surface; place it facing the VP.
- Load an image (pattern) or a test pattern onto the surface.
- The projection appears, with blending when several VPs aim at the same area.

Step 4LED walls and LED Compose
Lumeo handles LED walls too. Define a panel grid, then group several screens into a LED Compose to get the layout and a pixel canvas.
- Add menu, then LED Wall; pick the panel and the grid (h x v).
- Totals are computed for you: weight, power, pixels, surface.
- Group several screens into a LED Compose, then export the package: 3D model, pattern PNG, layout map and PSD.

Step 5Import a 3D model
Import the set, stage or building as GLB, OBJ or FBX to project onto it and validate angles in the real context.
- Add menu, then Import model (GLB, OBJ, FBX), with live preview.
- The model becomes a projection surface: VPs compute onto it automatically.
- Hide or show sub-parts to isolate what you care about.

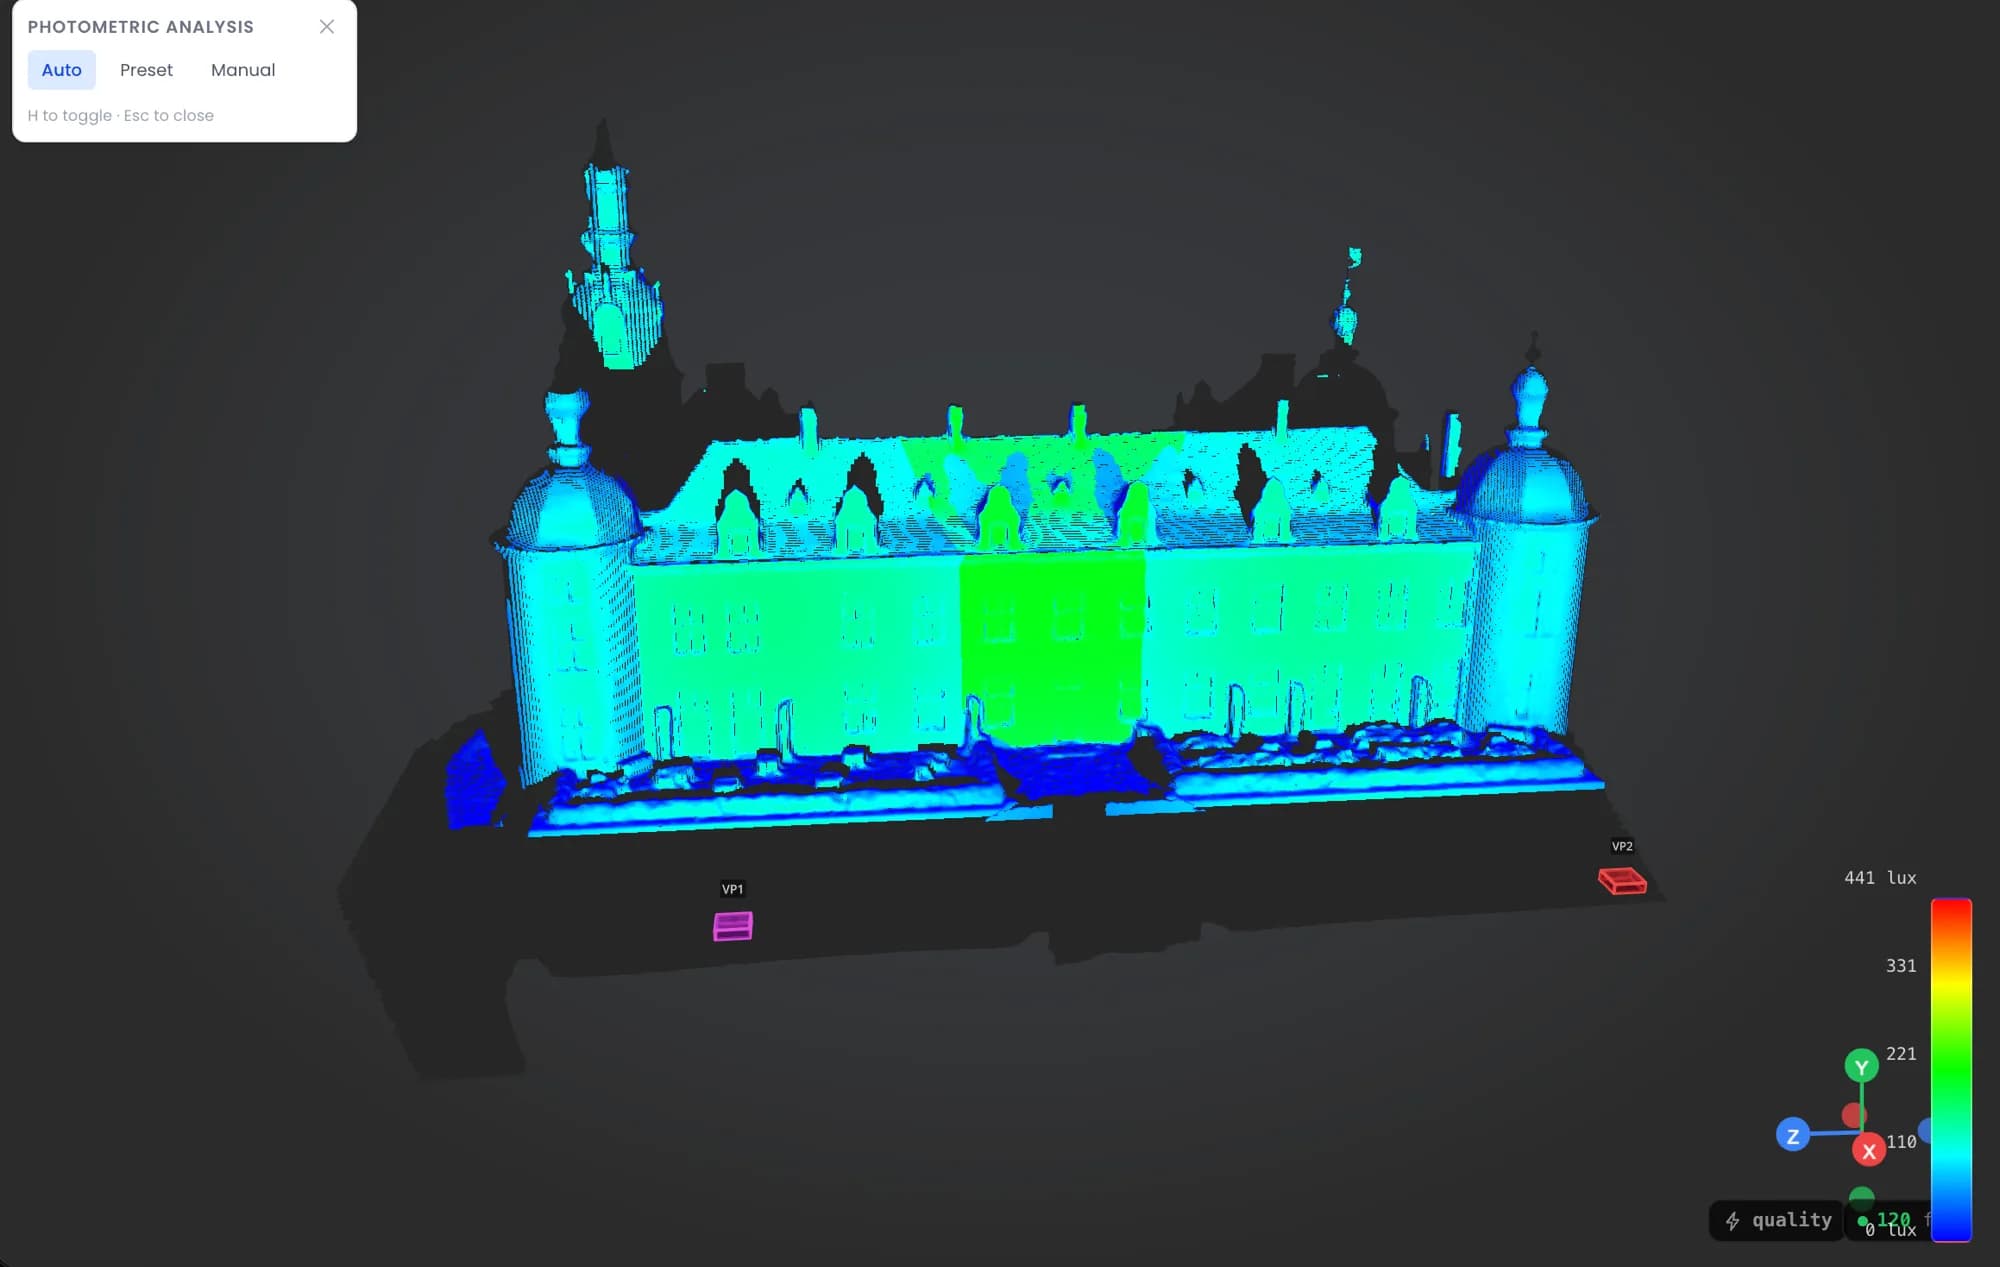
Step 6Analyse and export the dossier
Check coverage and brightness, then export the technical dossier for the client or the crew.
- Analysis mode: photometric heatmap (lux) on the surfaces.
- Measurements, dimensions and 3D annotations to document the plan.
- PDF export (technical dossier), 3D export (GLB, OBJ, FBX), and a read-only client viewer link.
Full, detailed documentation: Lumeo documentation
Cookies y privacidad Más información
Cookies y privacidad
Este sitio utiliza cookies para medir la audiencia y mejorar su experiencia. Puede aceptar, rechazar o personalizar sus preferencias en cualquier momento. Más información